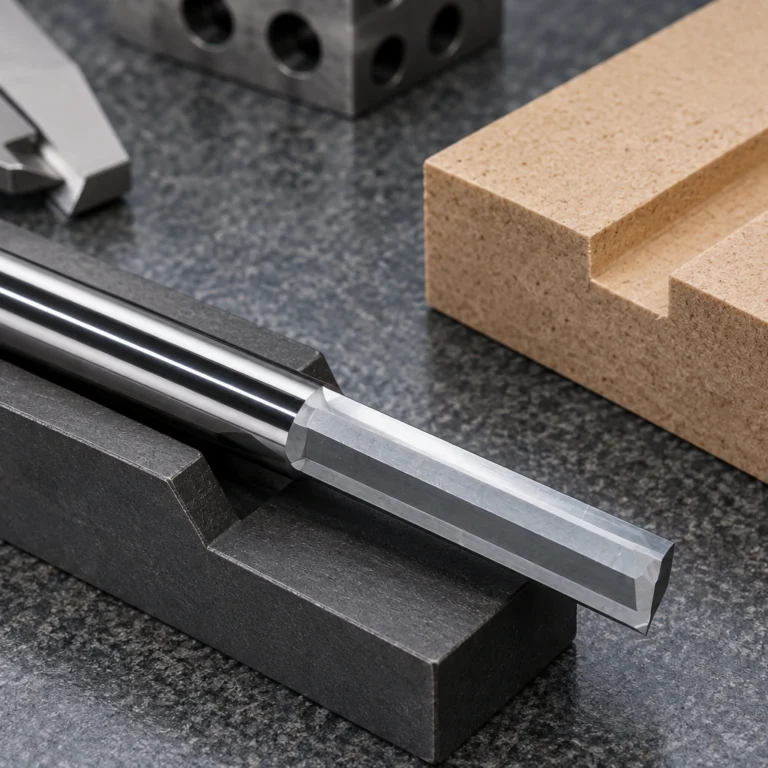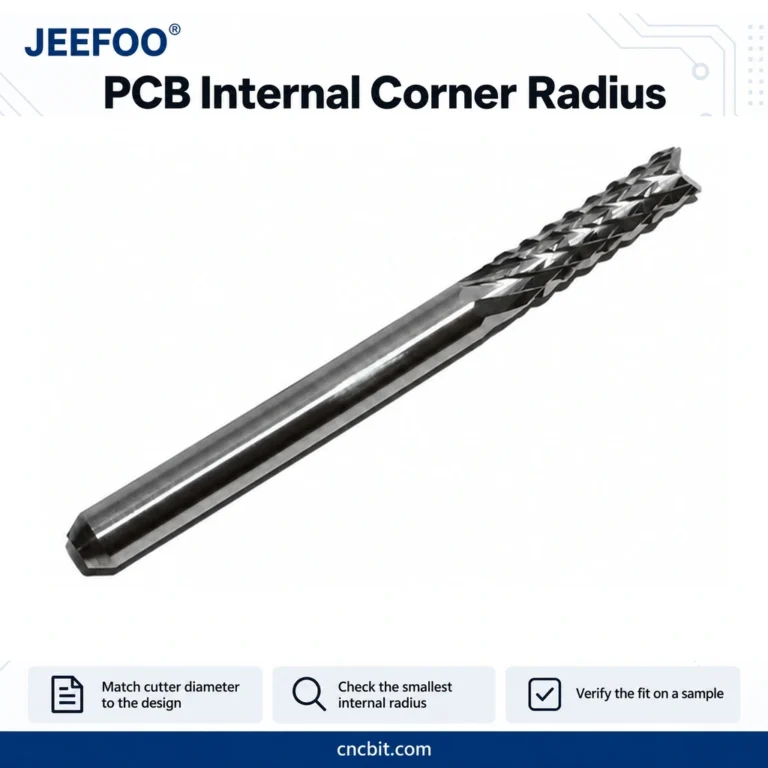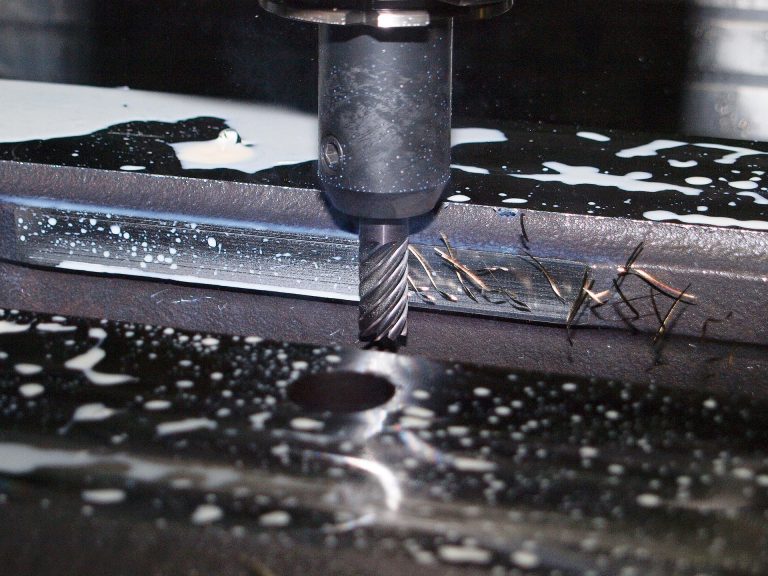
These carving tool instructions explain how to select, inspect, set up, test, and store a tool for a defined job. Begin with the material and finished feature. A hand carving gouge, a rotary burr, and a CNC router cutter have different operating methods, so the instructions supplied for the exact tool and equipment remain essential.
1. Carving Tool Instructions Start With the Task
Identify the workpiece material and the operation: rough shaping, fine lettering, relief carving, profiling, or finishing. State the required dimensions and appearance before choosing the cutting geometry. Separate material removal from polishing; an abrasive finishing accessory is not automatically a substitute for a cutting tool.
For CNC work, check cutting diameter, shank diameter, usable cutting length, tip form, included angle where relevant, and overall length. Confirm the tool fits the holder and can reach the feature without interference. For hand tools, choose a profile and handle suited to the cut and follow the supplier’s technique and handling instructions.
2. Match Geometry and Cutting Material
A ball-ended cutter can follow curved surfaces, while V-shaped and flat-tip engraving cutters create different groove forms. Toolpath spacing, depth, and tip geometry affect the marks left on a part. No cutter shape guarantees a smooth result without a suitable setup and process.
High-speed steel, solid carbide, brazed cutting edges, and diamond tooling have different applications. “Tungsten steel” commonly refers to carbide in product descriptions, but the exact grade and construction should be confirmed. Do not infer stone, metal, or plastic compatibility from hardness alone. Use the supplier’s material-specific recommendation.
3. Inspect and Install Before Cutting
Inspect edges and tips for chips, cracks, wear, or adhered material. Keep damaged and suspect tools out of production. Confirm the tool reference and dimensions against the job sheet rather than relying on a similar-looking product.
For CNC installation, clean the designated clamping surfaces and follow the holder’s insertion and tightening procedure. Clamp only the intended shank area. Check tool projection, runout, and assembly clearance by the equipment supplier’s method. Secure and support the workpiece; debris beneath a panel can affect the surface reference.
4. Qualify the Setup With a Trial
Use the correct tool geometry in the CAM library and verify the work origin and tool-length reference. Simulate the operation, check travel and fixture clearance, and use the machine’s approved verification procedure before cutting.
Choose feed, speed, depth, entry motion, and chip control for the actual tool, material, and equipment. A setting that worked on one material or cutter size is not a universal recipe. Confirm the approved coolant or extraction arrangement before starting.
Run a representative trial and inspect dimensions, groove shape, edge condition, and surface appearance. Record the tool reference, material, program revision, and conditions with the accepted sample. Stop and investigate abnormal noise, movement, burning, melting, or a sudden change in finish before continuing production.
5. Clean and Store After Use
Wait for moving parts to stop and follow equipment isolation instructions before handling. Clean with methods compatible with the tool material and coating. Protect cutting edges from collisions in storage, retain identification, and separate tools awaiting inspection from ready-to-use stock.
Sharpen or regrind only when the tool design supports it and the service is qualified for that tool. Regrinding can change dimensions or geometry, so inspect and update the tool record before reuse. Routine hand sharpening is not appropriate for every precision CNC cutter.
Carving Tool Instructions: Quick Answers
Can one carving tool handle every material?
No. Match the geometry, cutting material, holder, and operation to the workpiece. Obtain application confirmation when the material or task changes.
What should be checked after a tool change?
Confirm identification, installation, clearances, tool reference settings, and the first accepted part. For a V-shaped cutter, also see our 3DV carving knife guide.
For general machining principles, consult Sandvik Coromant’s milling application guide. Use the operating instructions for the actual JEEFOO tool and machine when selecting numerical parameters.