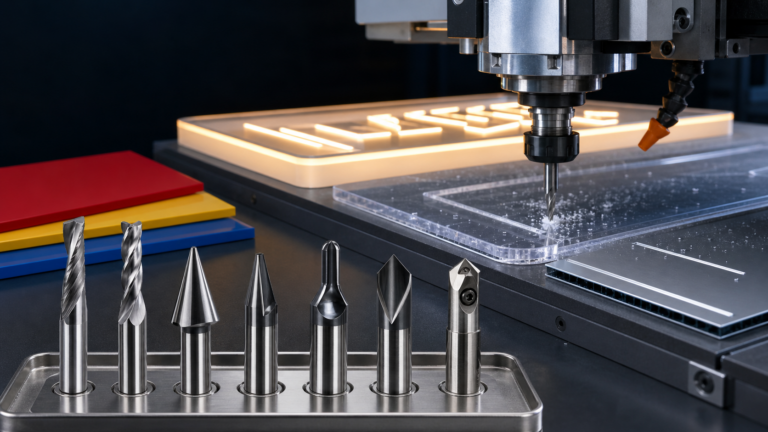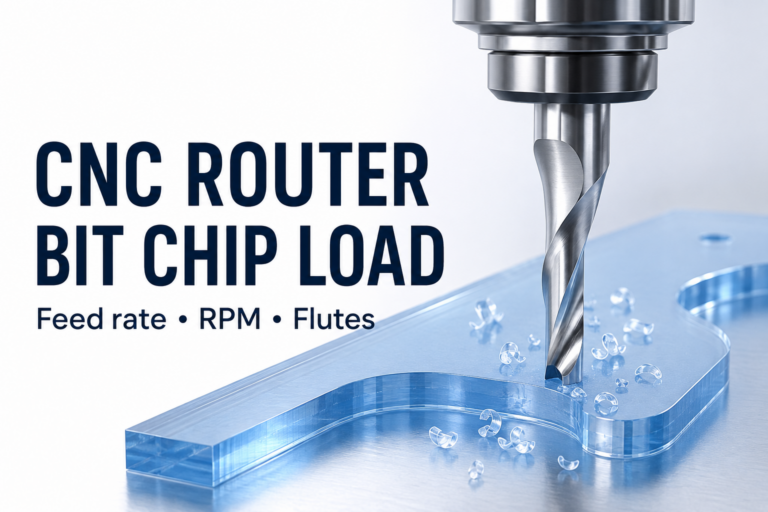
Lens cutting tools must match the lens material, machine model, and operation. Drilling, grooving, milling, and edging do not automatically use interchangeable tools or settings. Start with the lens identification and the equipment manual, then inspect the tool, secure the lens, and qualify the result before processing a production order.
1. Match Lens Cutting Tools to the Job
Identify the material precisely: polycarbonate, CR-39 resin, another high-index plastic, Trivex, and optical glass have different processing requirements. Record any surface coating and the required finished feature. Do not choose a cutter from a material abbreviation alone.
Check the machine model, software version where relevant, and supported operation. Confirm the tool reference, diameter, shank, cutting length, and installation interface. A machine may support several lens materials through different wheels, cutters, or modes; that does not mean one cutter is approved for all of them.
2. Inspect the Tool and Protect the Lens
Inspect the cutting edge for wear, chips, adhered material, or other damage before installation. Keep suspect tools separate from serviceable stock. Clean the holder and designated clamping surfaces using the supplier’s procedure, and follow the specified installation and calibration instructions.
Check blocking, clamping, and lens support before starting. Protect coated surfaces using the method approved for the material and machine. Debris on contact surfaces can affect seating or scratch the lens. Confirm the correct reference position and clearance for the complete tool assembly.
3. Use the Approved Processing Mode
Choose the machine’s specified program for the lens material and feature. Confirm feed, speed, depth, tool compensation, and coolant or extraction requirements in the relevant instructions. Do not impose a universal dry-cutting or water-cooling rule on every lens material and machine.
Check fluid compatibility and any coating limitations before using a wet process. Where a dry operation is approved, use the equipment’s specified chip and dust control. Avoid changing several settings at once in response to a defect; preserve the original record so the effect of each adjustment can be compared.
4. Inspect a Trial and Record the Result
Use a representative trial lens with the same material and relevant coating. Inspect the required hole, groove, or edge dimensions using the specified method. Check for chipping, cracks, scratches, melting, and visible surface damage. Appearance and dimensions should be accepted separately.
Stop the machine according to its operating procedure if abnormal vibration, noise, smoke, movement, or melting occurs. Wait for moving parts to stop before intervention. Review tool condition, mounting, selected material mode, and chip control before restarting.
Keep the lens material, tool reference, machine settings, calibration status, and inspection result together. Clean and store tools using approved methods after use. A repeat order should be checked against the same acceptance criteria rather than relying on an operator’s memory.
Lens Cutting Tools: Quick Answers
Can the same tool drill and mill a lens?
Only when the exact tool and machine explicitly support both operations. Confirm the approved tool reference and program; a similar appearance or diameter does not establish compatibility.
Should all lenses be processed wet?
No universal rule applies here. Follow the instructions for the material, coating, cutter, and machine. Confirm the approved fluid or extraction arrangement before processing.
What should be sent when requesting a replacement?
Provide the machine model, current tool reference and dimensions, lens material, required operation, and photographs of the tool and any defect. State which details still need confirmation.
As an independent example, Essilor Instruments describes separate drilling and grooving functions on its DELTA finishing system. This is model-specific information. For general tool preparation, see our carving tool instructions; lens equipment instructions remain the reference for the actual operation.